
now just to make things clear I've talking about Clive not Clyde...

So onto the lovey smelling MDF kit, when I cracked the bag open I discovered that no assembly instructions come with the kit so you have to blag your way though it, based on this I decided to snap pics as I was building mine to help the masses!
As I picked up two of the kits I played with the first one and then did the step by step so I could suss out what to do in the right order, So what do you get in the kit?

Base plate and rocker arm
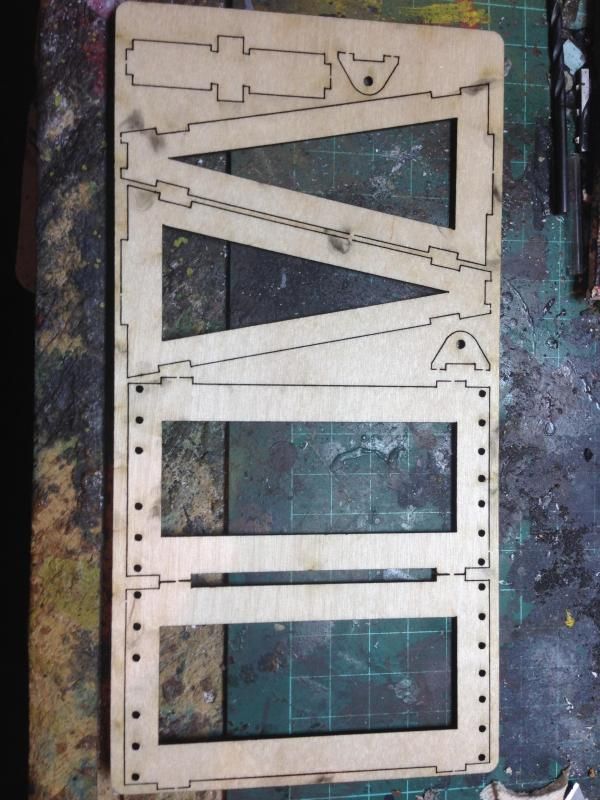
the structure that the arm goes on
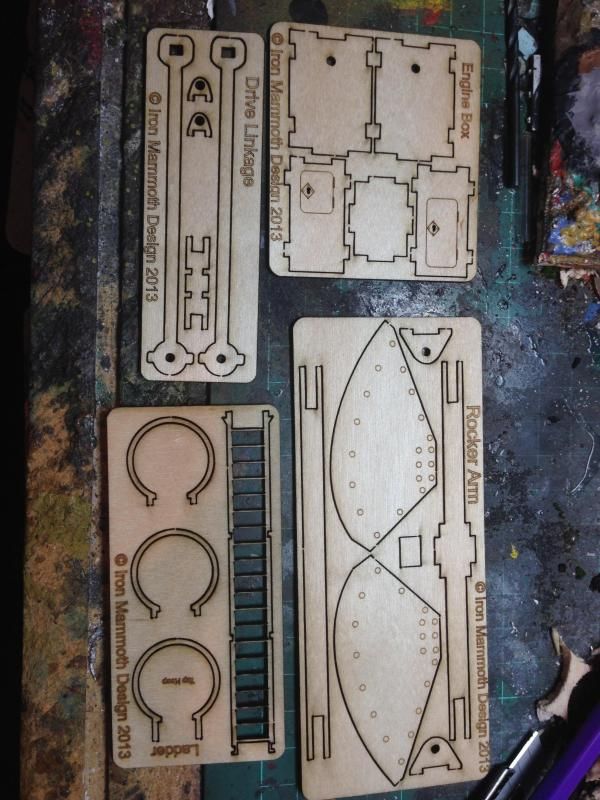
engine block, ladder and other rocker arm bits
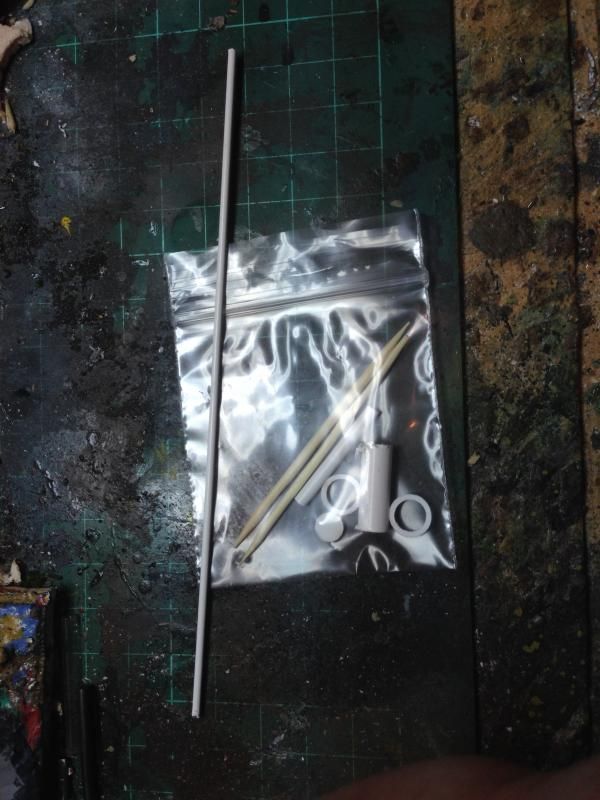
and what appears to be random bits!
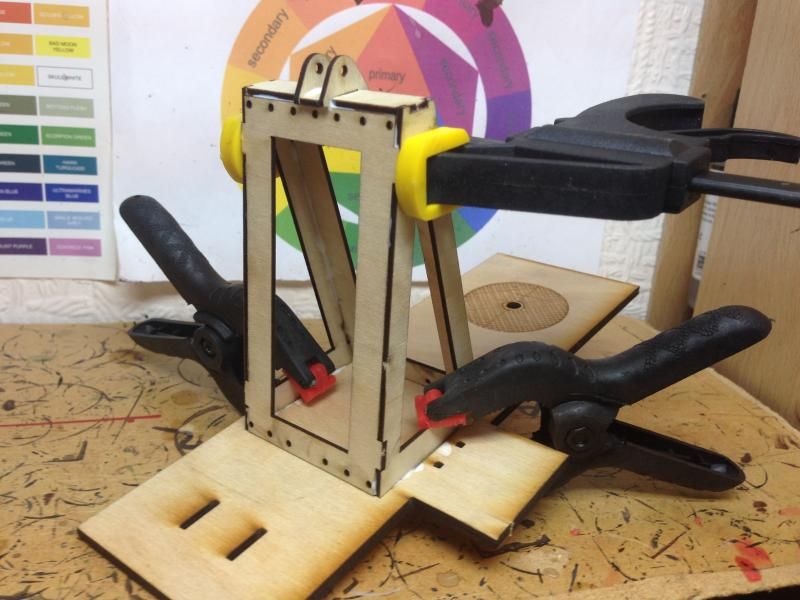
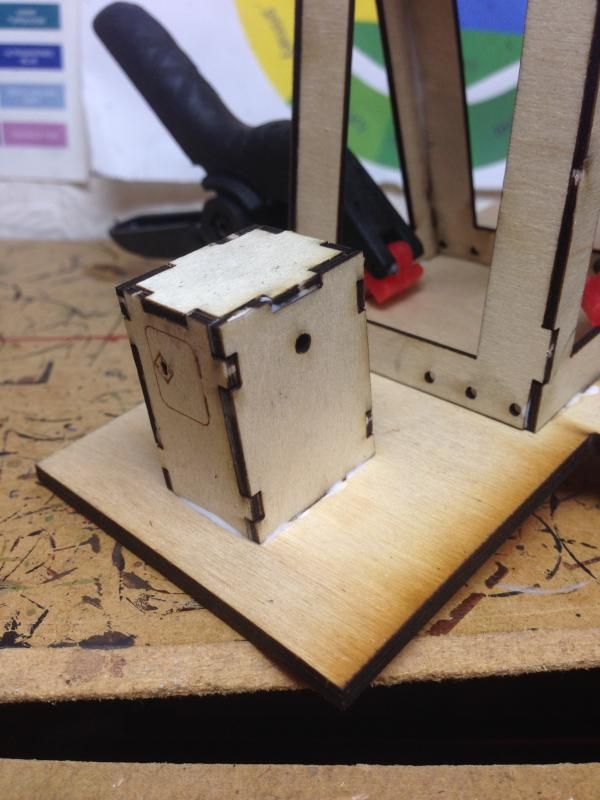
So I started with the upright with some help from clamps that I picked up from ebay for less than a tenner
Whilst that was setting I then did the engine block as well and put that to one side,
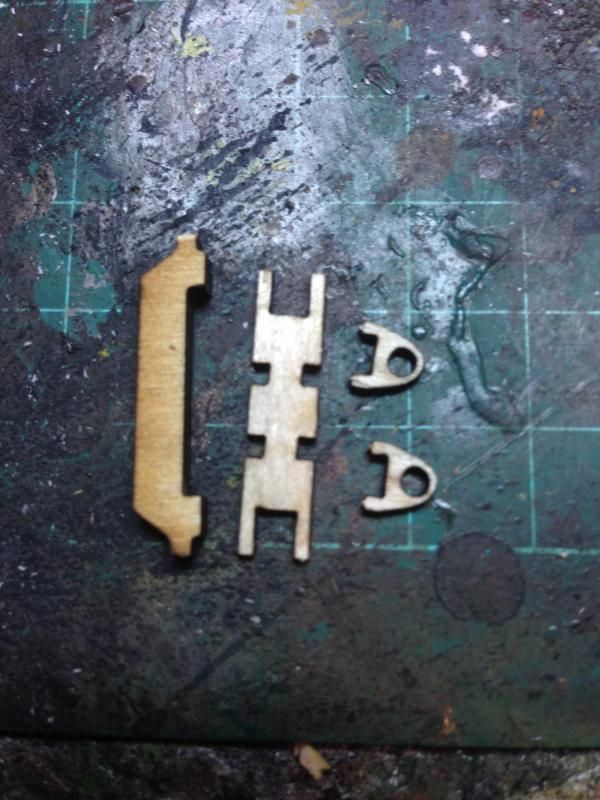
I popped out the rear or the rocker arm joint and attached the guides to it
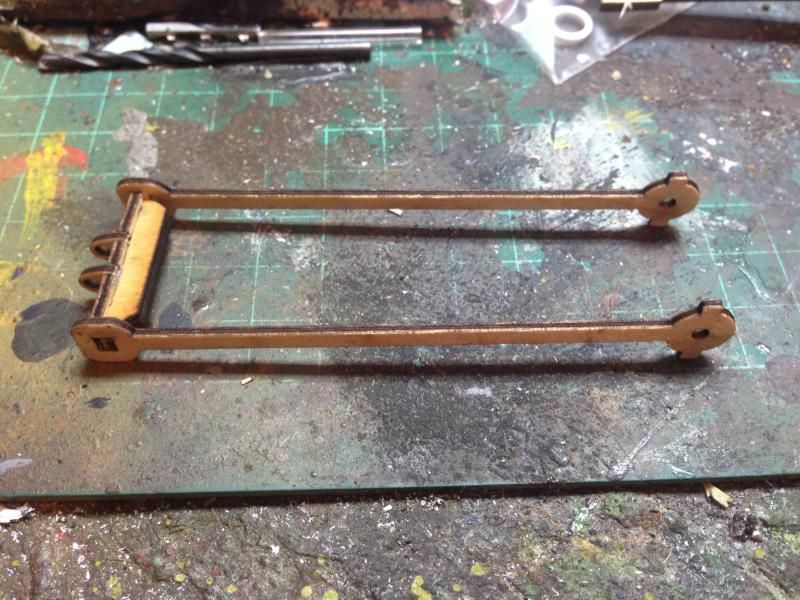
the rocker arm was then all popped out and all stuck together
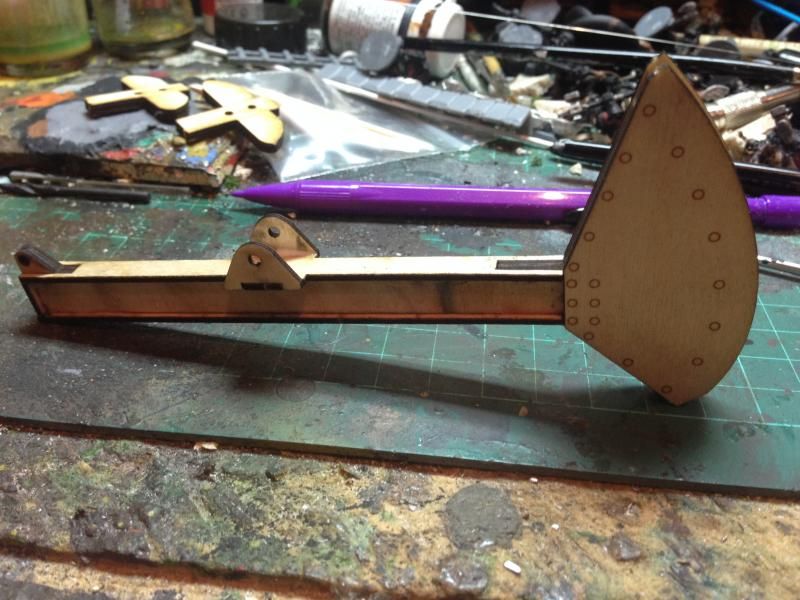
the thing to note is make sure you get the bits the right way round otherwise it'll become a tad dodgy if you let it dry!
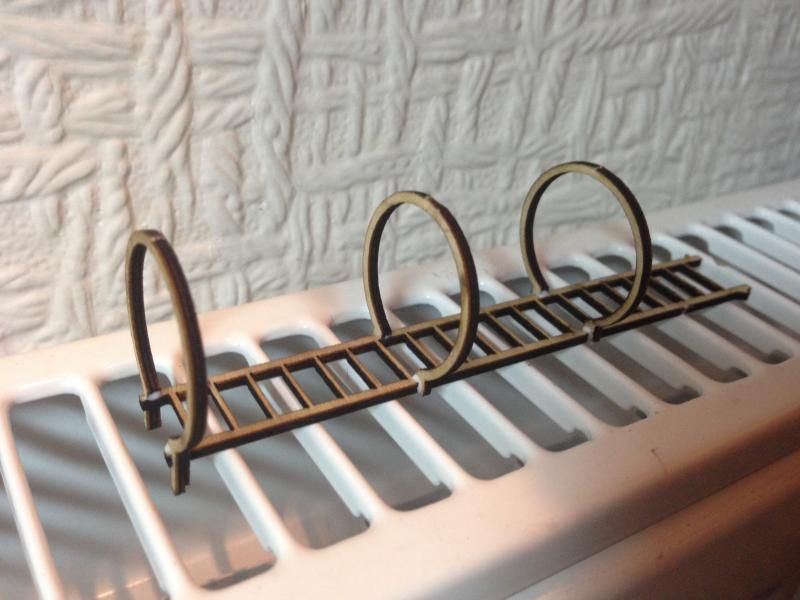
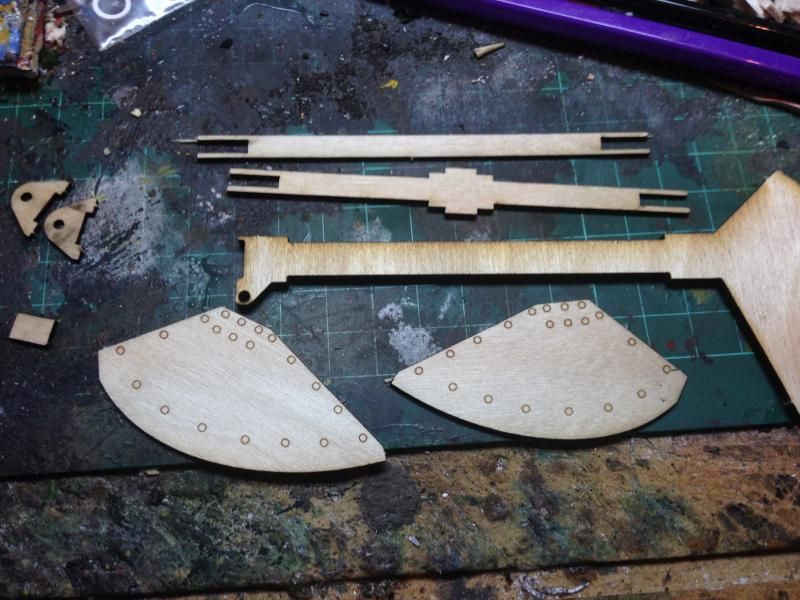
shove the rocker arm to one side and get the ladder Assembly done, this is a bit of a pain to do and was the one bit that has me swearing the most on the first build! let the ladder set as much as you can and when dry/stable then stick to the upright if you try and do it any other way best of luck!
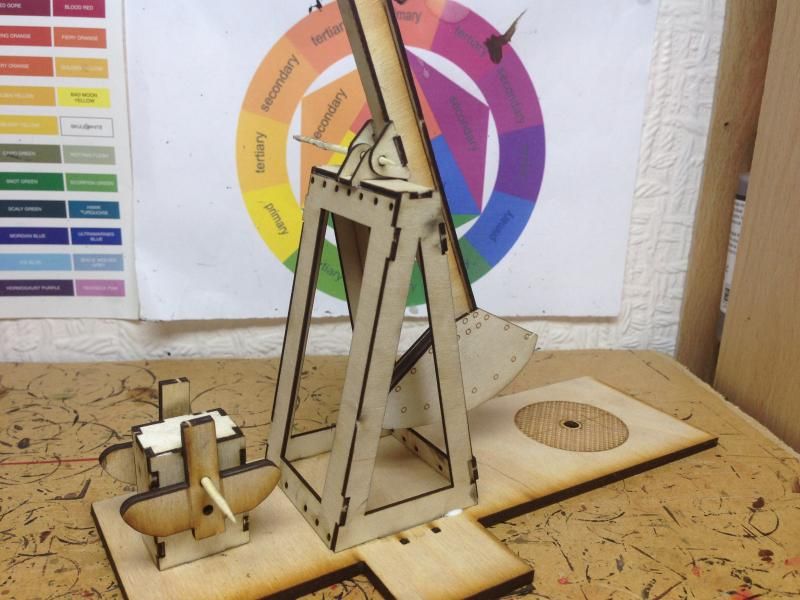
this is where you now need to get those random bits and get the cocktail sticks and put them though the two joins,
grab the rear rocker arm joint and put a cocktail stick though that bit, at this point you can decide what position you want the arm in. Also I simply used the flat edge of my clippers to make the cocktail sticks flush and when I was happy with the position of the arm put some pva on the joints.
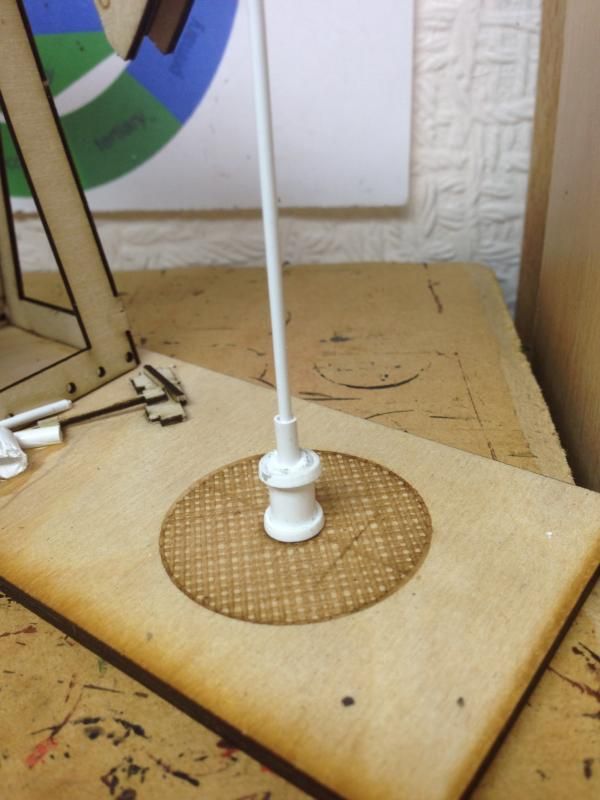
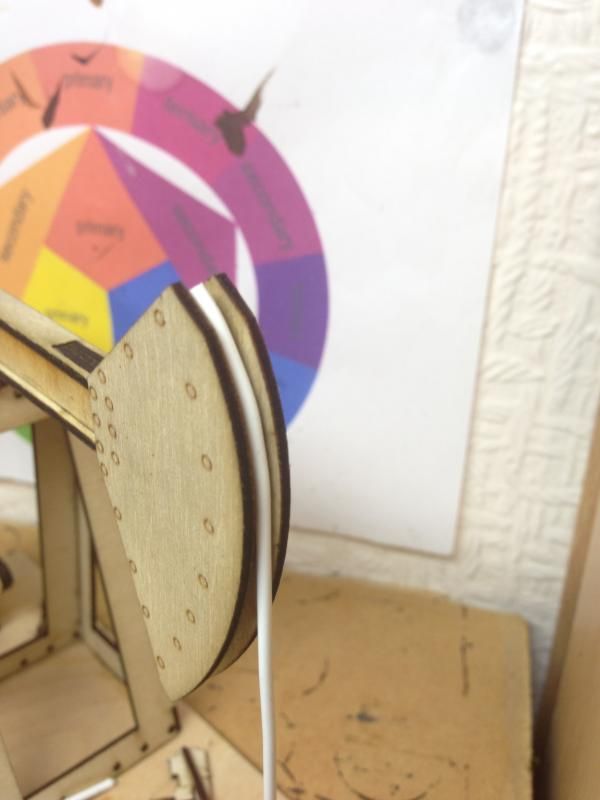
with whats left over from the random bits I put the well part together, now I'm not sure if its technically correct but looks alright to me, and the plastic dowling turned out to have wire inside so you can bend it to the shape of the "head"
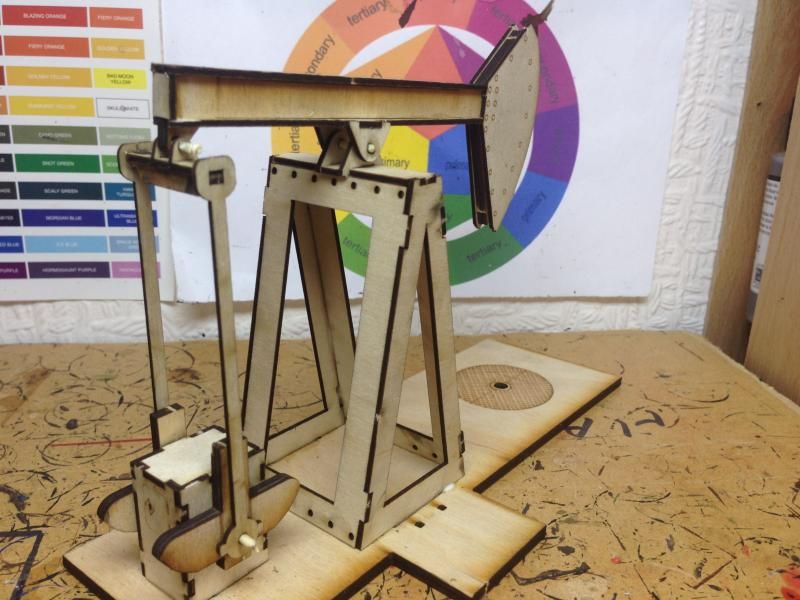
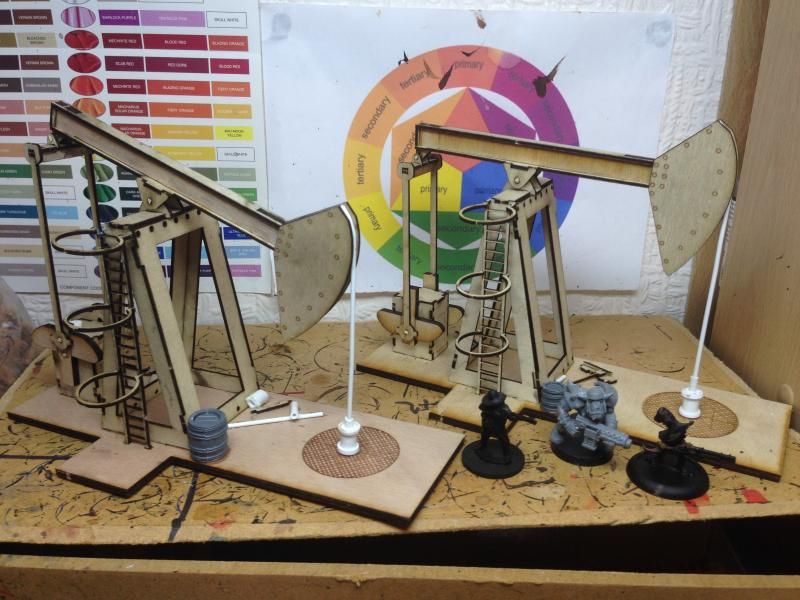
so once that's done but the ladder on and you've a completed clive or two in my case. Personally I really like these not the hardest thing in the world but for something different absolutely spot on! Just a shame that they are not made in 20mm scale.
So whilst I was on a role I cracked on with the Derrick the next day, now these had a web address derrick and I simply followed the instructions on the website,
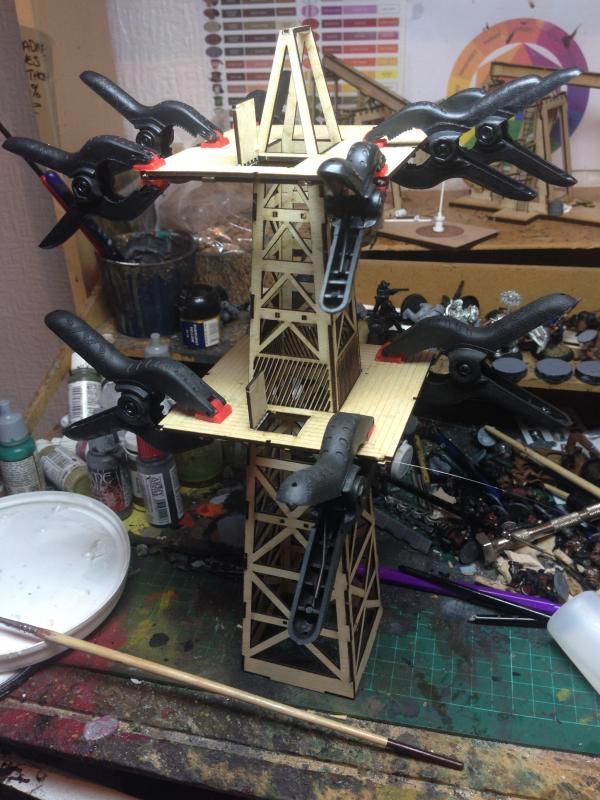
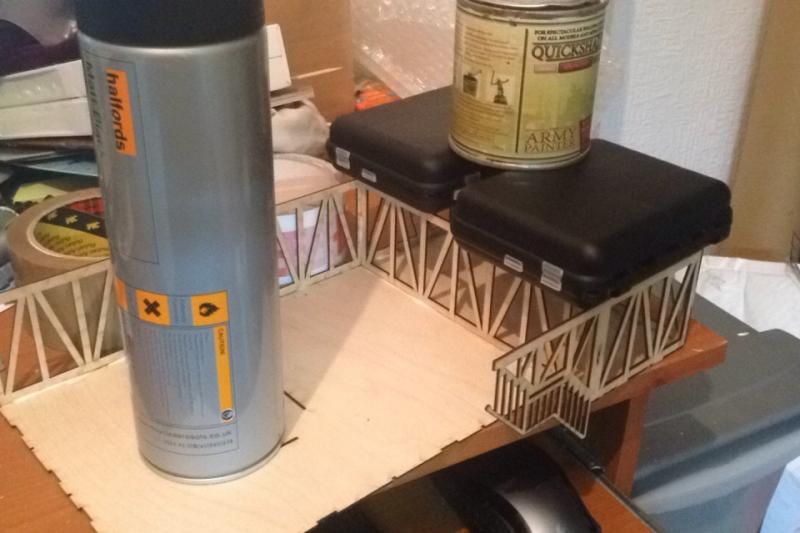
over all quite easy to build the raised platform was a tad tricky but only because you needed patience and random items to hold the girders upright which rolls of packing tape did very well, the spray can was to make sure the floor stayed flat as the large piece of mdf/plyboard had bent slightly

once it was all together its quite a impressive bit of kit and the uses for this are very varied I've already had a few ideas for using this in a varity of games. The only thing I carn't decide is do I base the model or leave it free standing? with the board that I'm planning this is going to look great for a couple of kick starters that are due to arrive any day soon
if you want your own oil field the nip over to fenris games website and have a mooch.. www.fenrisgames.com
The actual painting is on hold at the moment as I'm off to Leeds at the end of the month so have a complete army to paint before then, more on that once they are finished hopefully some time very soon!
So onto the Pledge...
September:
Bought - 43
Painted - 83
Difference + 40
now I'll admit the t-55's, t-62's and the smoke markers helped a tremendous amount but a model is a model eh!
No comments:
Post a Comment