A couple of months ago the Ant "bomb" was dropped on the mantic project I was given 35 enforcers and asked to do something with them.
With a brief of the table will be a desert type board I was left to my own devices...
As usual I did a quick test paint and got the thumbs up from Nic,
So a nice and easy step by step for the guys who want to emulate the colour scheme
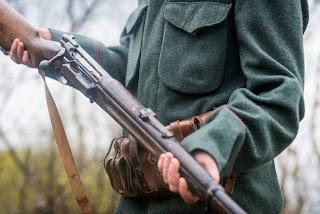
Start off with Khaki, I found a spray from halfords that does the jobs lovely!
for the armour plates I used good old Russian green!
then metallic on the gun and sponged the armour for a weathered look, once that was done I simply hit it with a medium wash and based, Nothing too taxing simply rinse and repeat,
The following lot was done in about a week over a few nights.
Sadly I never got these back so they've gone to the big hole in the wargaming sky!
Showing posts with label painting guide. Show all posts
Showing posts with label painting guide. Show all posts
Saturday, 9 July 2016
Friday, 6 May 2016
Panzerfaust - Paint the SkogTrolls
Just before Salute I was over at Hysterical Towers and managed to snag myself some of the new Skogtrolls from the Bossman Rob,
In the usual Anton manner I asked how Rob wanted them painted and he blasted me a few pics to have a look at
So the artwork for the trolls, gives a "feel" for the vision
and a couple of pictures of Norwegian uniforms that the trolls would be wearing.
So to start off with I cleaned up the models and to be honest the vent ports and little flash took no time at all, Then with the individual bits all cleaned up I stuck the tails on and they were ready to prime unlike Forgeworld resin that needs cleaning with warm soapy water RAH Resin needs none of that and all the models that I've had from Hysterical Games I've assembled and primes with no issues what so ever!
The initial colours to go onto the model was a 50/50 (ish) mix of Luftwaffe camo green VAL 823 with green grey VAL70886
Once this was dry a bit more green grey was added and then a wash of green (Biel-tan) was splashed over,
once the wash was dry then I re highlighted the uniform once again, and picked out the detail on the webbing and rifle with flat earth VAL 983, a bit of khaki added for the highlight
I continued with the khaki for the skin and tail,
for the "furry" bits I went with stonewall grey VAL 72049, the metal on the guns were painted in gunmetal grey VAL 70863.
the eyes and tongue were painted red and the teeth off white. The boots I mixed black and white for a darkish grey.
For the highlight on the skin I used dwarf skin VAL 72041 now I simply picked out the high points and rough blended the dwarf flesh on, its a bit of a weird way to work and I was going in blind with this one as a "bugger to it" technique and was wondering how it would come out!
Once it was all dry I used a soft wash on all of the model par the uniform and left it to dry, I picked out the eyes and tongue and did the piping around the sleeves and the collar and that was it, bit of basing required and jobs a good un!
However Mr Alderman has also managed to splash some paint on his trolls.....
I've simply lifted this from the facebook page and the above picture doesn't do them justice they look superb!
Skin: P3 Battledress Green
Uniform: Coat d'arms Green Grey
Hair: Citadel Rhinox Hide
Rifle: Citadel Dryad Bark
Webbing: Citadel Mournfang Brown
Teeth: Citadel Zandri Dust
Cigar: Citadel Steel Legion Drab
Metalwork: Citadel Boltgun Metal
Boots: Citadel Chaos Black
Wash whole model with 50% : 50% agrax earthshade and nuln oil.
Skin: add Citadel Rakarth Flesh, then final highlight of pure Rakarth Flesh.
Uniform: re-layer with Coat d'arms Green Grey, then highlight with 50:50 Coat d'arms Green Grey and Flames of War Green Grey
Hair: Layer Doombull Brown then Tuskgor Fur
Rifle: Layer Gorthor Brown then highlight Baneblade Brown.
Webbing: layer Skrag Brown, then highlight Deathclaw Brown
Teeth: layer Ushabti Bone, then Highlight Screaming Skull
Cigar: actually repainted with Dryad Bark.
Metalwork: Highlight with Mithril Silver
Boots: Highlight with Skavenblight Dinge
Friday, 23 October 2015
Panzerfaust terrain painting guide - Mushrooms & houses!
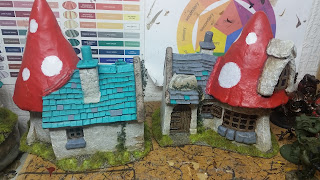
When I was over at the Derby show earlier this month I was asked by Rob if I could some terrain for Panzerfaust and gladly agreed,
I was given a bag full of mushrooms and four buildings to sort out and thought I'd do a "how to" as I was going to try and paint these without the use of an airbrush unlike my last lot of mushroom terrain.
So the raw materials that I was handed...
These are test casts of the buildings that will be up and the right hand one is unlocked at 25K,
a ton of bits via fenris models, lovely to work with.
So I washed the resin and stuck them onto 50mm bases, the inserts are from warbases that I've used before, really useful as you can have a variety of terrain that you can swap out buy simply buying 50mm bases and sticking what ever you like on them just base them the same!
I had some ebay specials turn up as well and will fit in nicely and give it a bit of variation!
So onto the guide to painting a ton of mushrooms with minimum effort!
I started off with a grey car primer that I get from halfords, I use this as my go to primer after a suggestion from Adam on mountain of metal painting studio
I then gave it a quick coat of army painted bone, now the trick to this is not to "undercoat" but to dust coat it building up the layers, so that the spray hits the model in a direction that keeps the grey in the shadows.
I then did a light coat of white, then got some blu-tac made these into balls and simply stuck them on the mushroom, remembering that where the blu-tac is placed will be where the while will remain, I'm sure you could use round stickers if you wanted smaller spots.
I then sprayed with army painter red from the top of the mushroom so that I don't get too mush over spray on the stalks
then its just a case of simply removing the blu-tac and adding the detail, I did this by painting the spores and cracks with a off while and then simply doing a green wash,
however at this point I hadn't given the stalks a soft army painter wash,
so a couple of hours work of work and they were sorted, Rob was happy with them so all is good!
It was then onto the houses that I'd been asked to do, I started with a grey undercoat, then a bone covering for the base coat of the plaster
I started with sponge painting the big surfaces them grabbed a cheap brush and stippled and dry brushed the walls,
Then it was onto the details and start making it look weird and pretty at the same time!
Isla well being Isla wanted to get involved as well and I gave her the bases for the mushrooms to keep her amused!
So after a bit if a hardcore session I managed to to get the buildings to a reasonable tabletop standard, The way that I did the white spots on the mushroom roofs was I cut a three different circles int a bit of paper and simply sponged the area then once it was dry gave it a touch up with a normal brush and it was sorted!
So with some basing done I simply had to wait for them to dry and I could deliver them!
overall the building are really nice, solid resin so gamer proof however no idea on the price point as it currently stands.
I'd told Rob that he was 9 stands short of the bases that he'd given me so I got these on the when I arrived,
so exactly the same based up and all that jazz, however I was going to simply matt varnish seal them give a soft wash and then simply base, however Rob wanted me to do the same as the previous batch so it was a rinse and repeat,
the only thing that I did differently was I used frog tape Frog tape to cover up the stalks as the red would be going all over the place.
And that's it nice and simple, the masking and blu-tac takes a little while but the finished result is well worth it.
The golden question is what other colours would you think would look good?
Friday, 22 May 2015
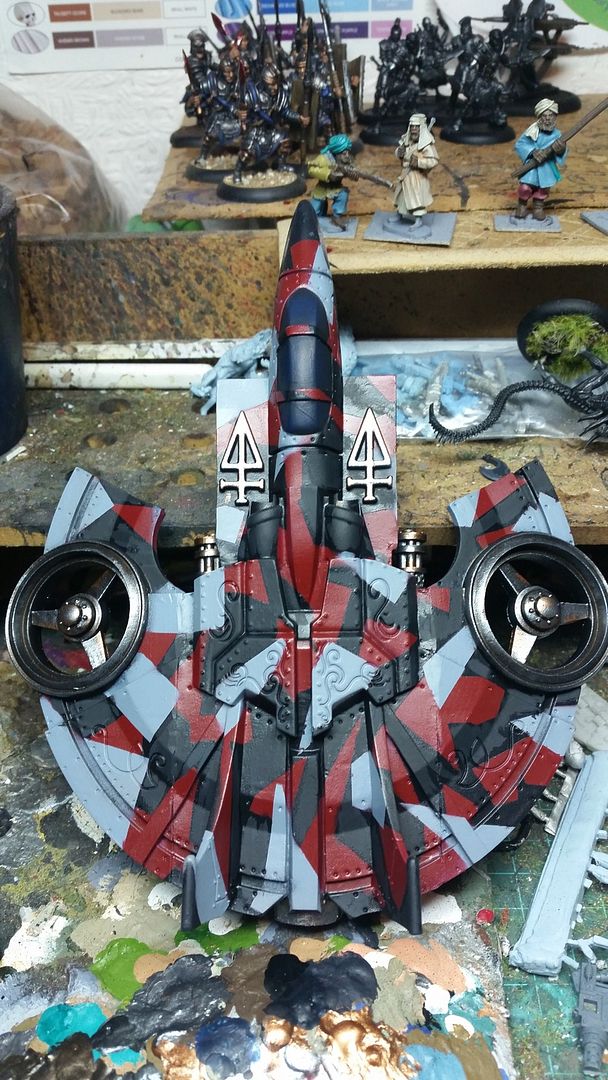
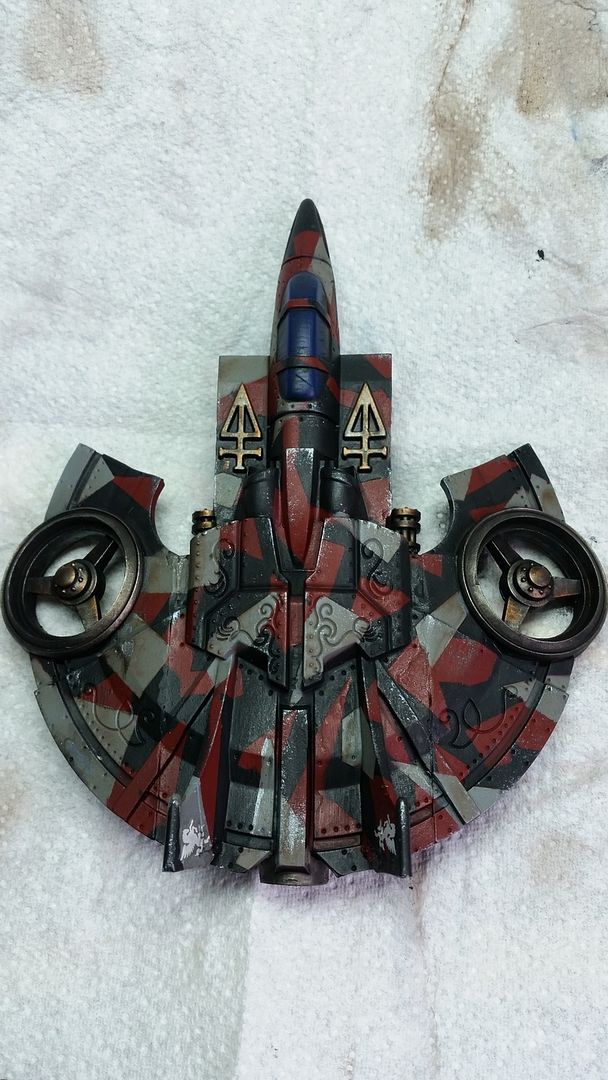
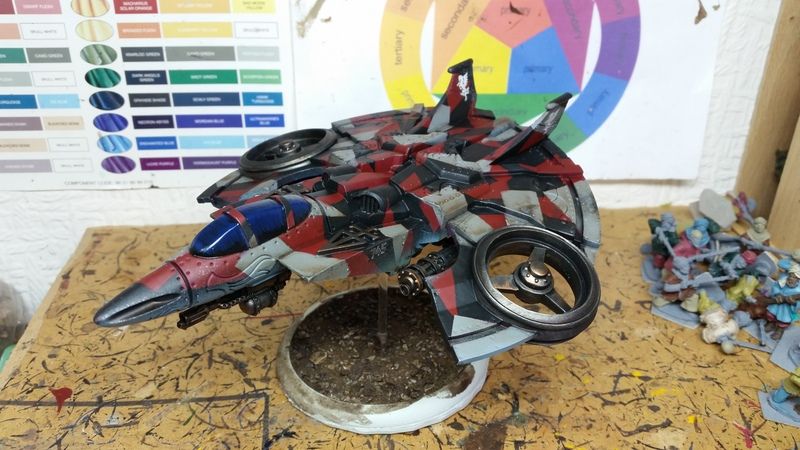
Warzone Icarus ready for deployment....
As soon as the Icarus was available for order from prodos it was in the shopping cart and paid for you could blink....
When the model rocked up I was really happy with it and couldn't wait to get in on the table and strafing the unwashed masses, however I wanted to have it painted though and that's where I hit a slight snag as I wanted a certain look for the Icarus.
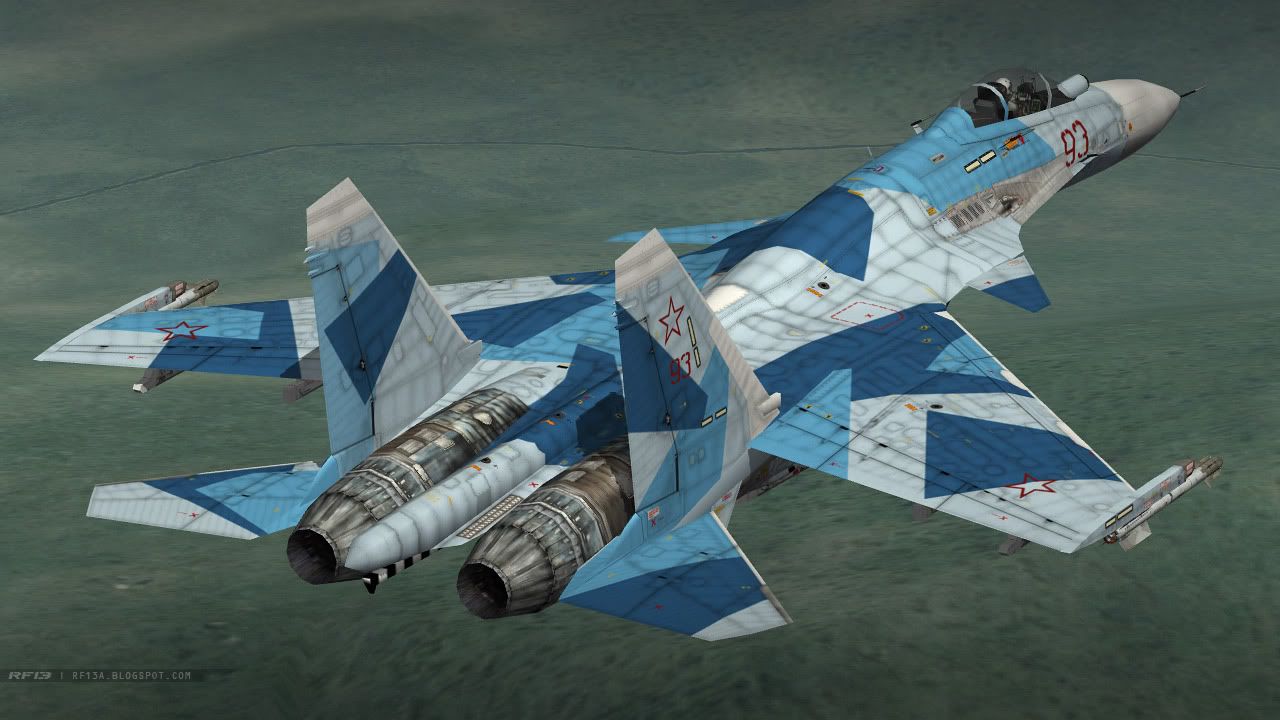
And in the usual Anton manner it was Russian inspired...
The snag that I had was how to achieve the clean lines, and that inspired me to sign up for the airbrush course earlier in the year. However its taken me this long to get my ass into gear and actually attempt the model,
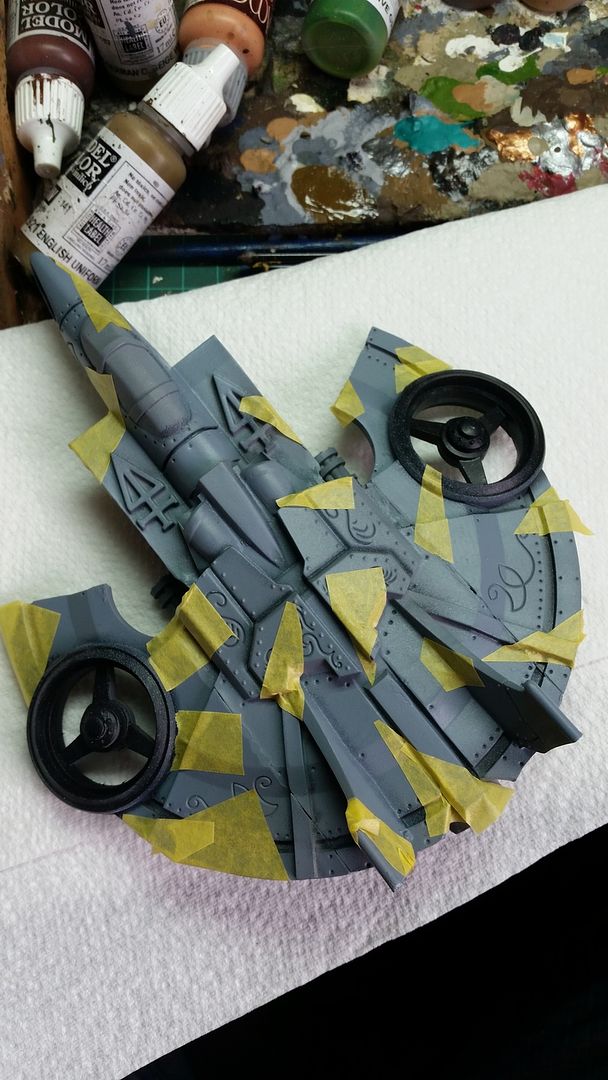
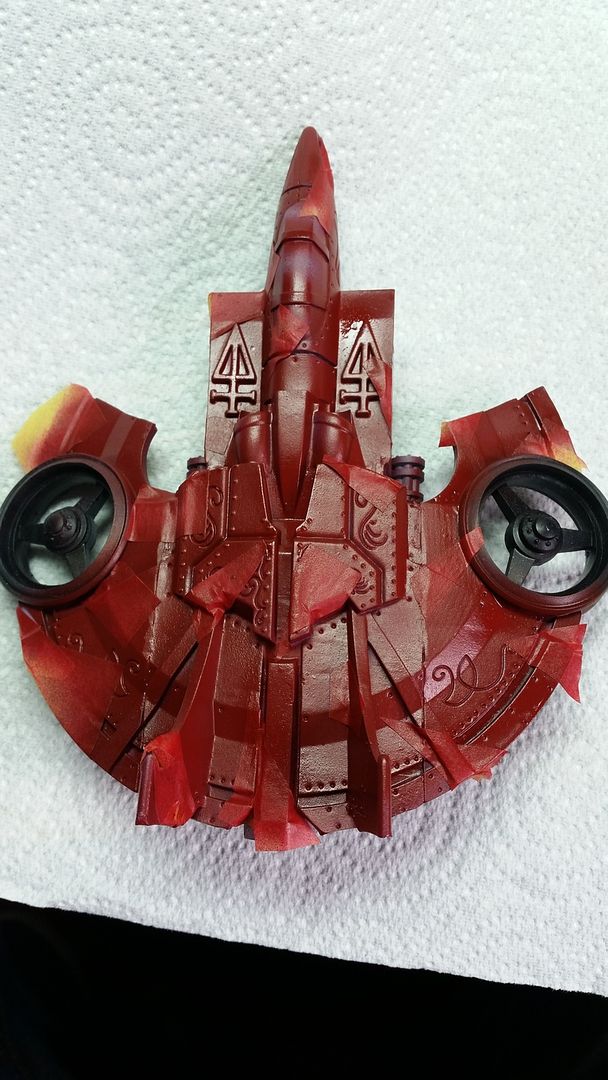
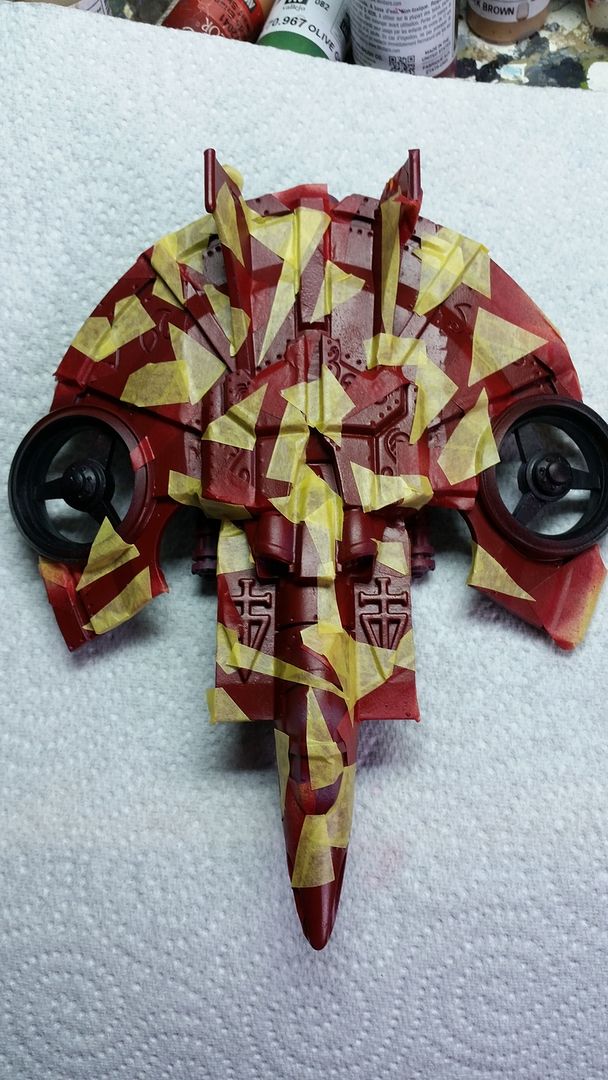
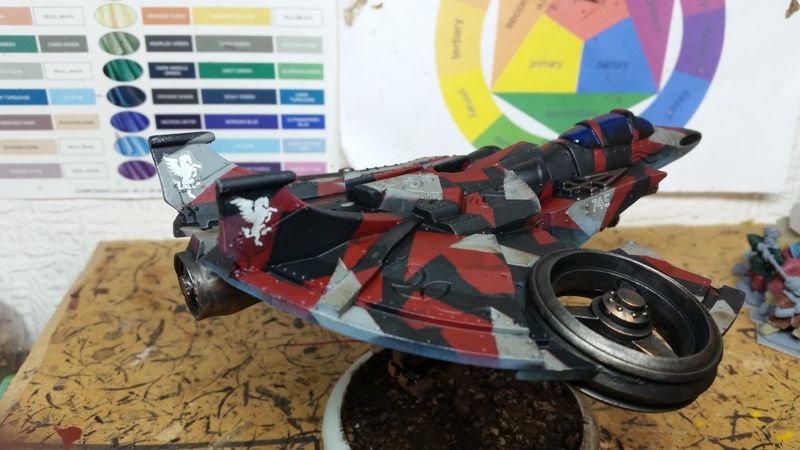
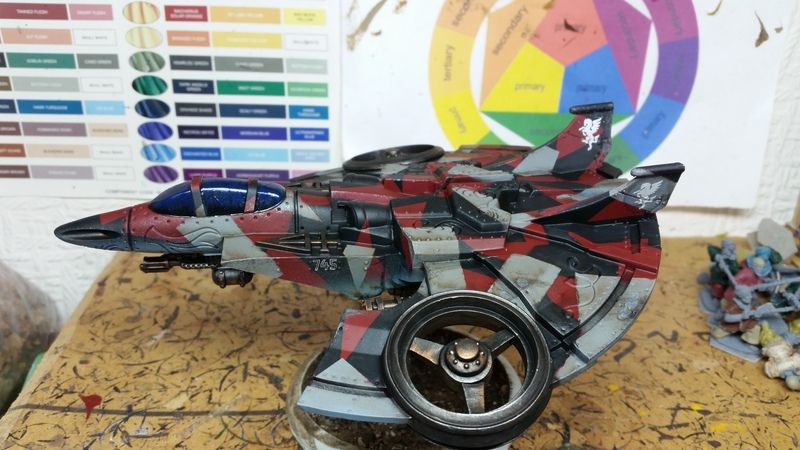
so I started with a base coat of grey and used some painters masking tape and cut it up into random shapes.
Once I'd done that I blasted it with some red,
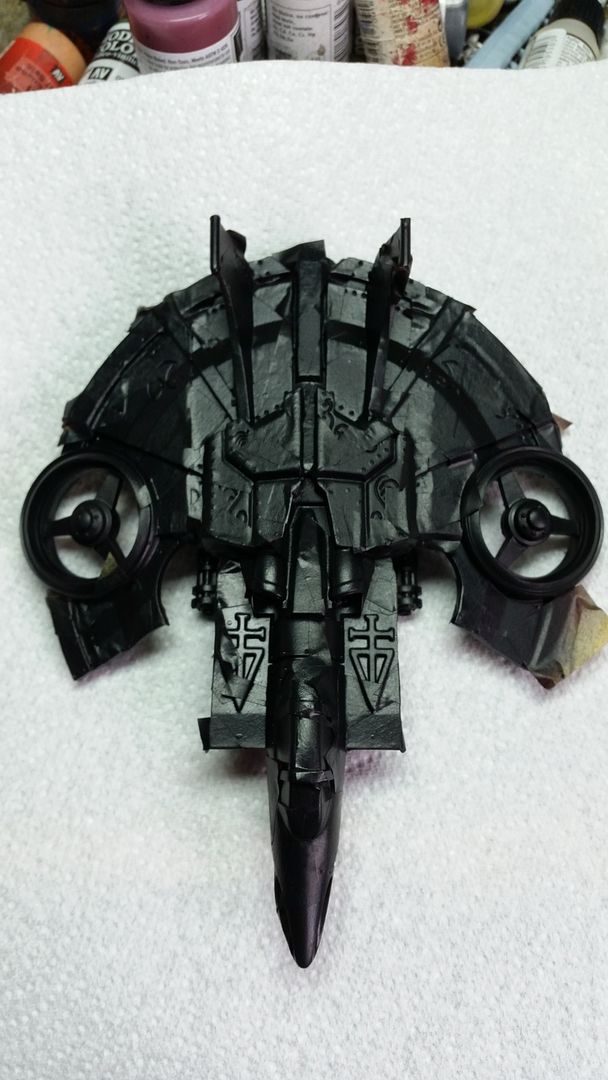
and did a rinse and repeat on the masking,
I blasted it with some black,
I whipped off the masking tape and was actually surprised it worked! I'd basically blagged the masking and some how pulled it off!
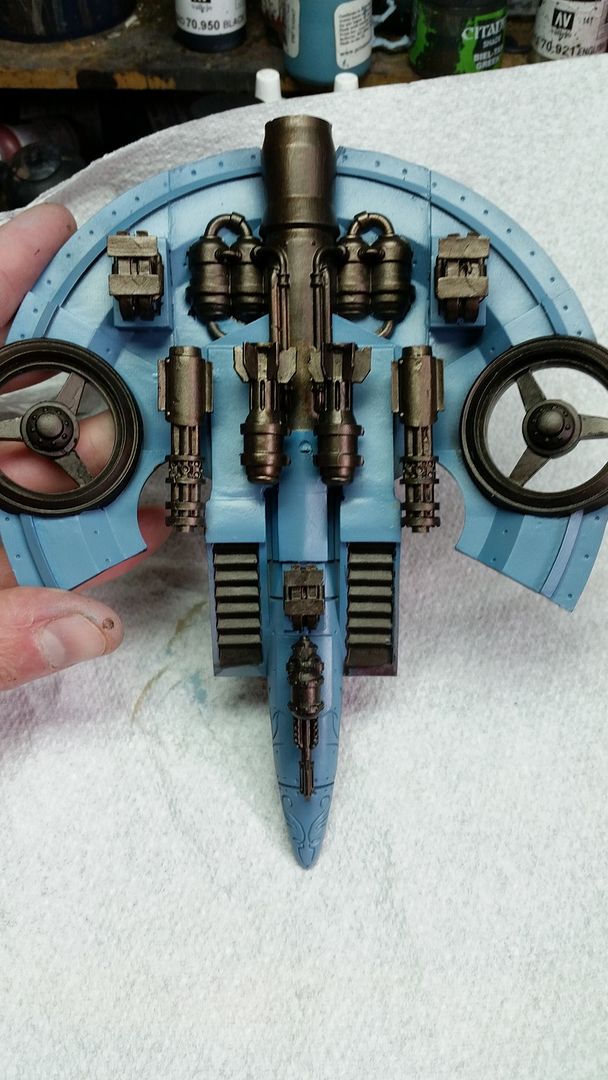
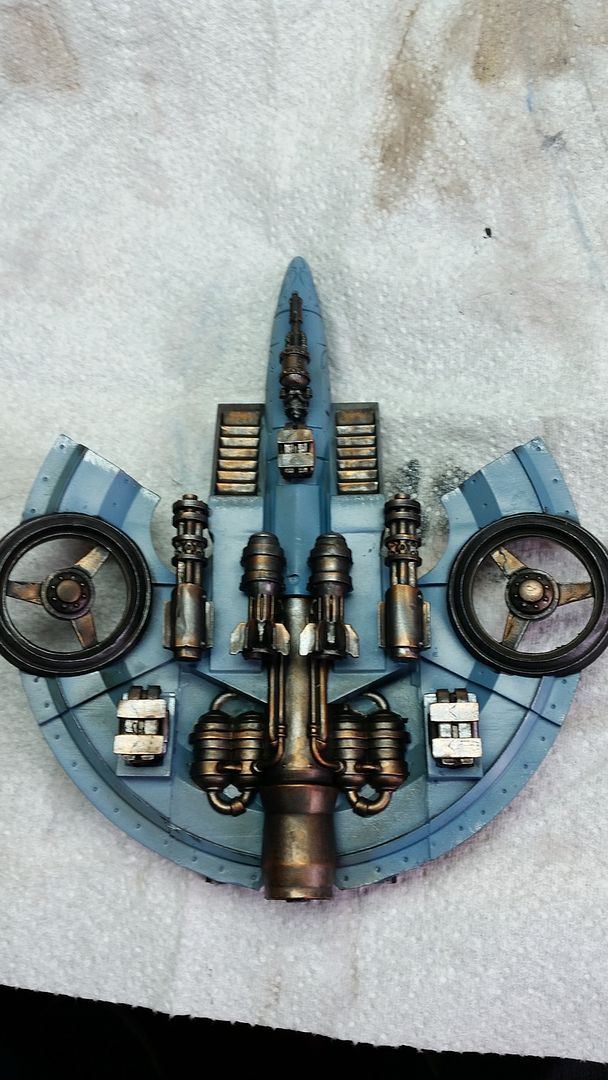
some blue on the underside and detail of the metal bits,
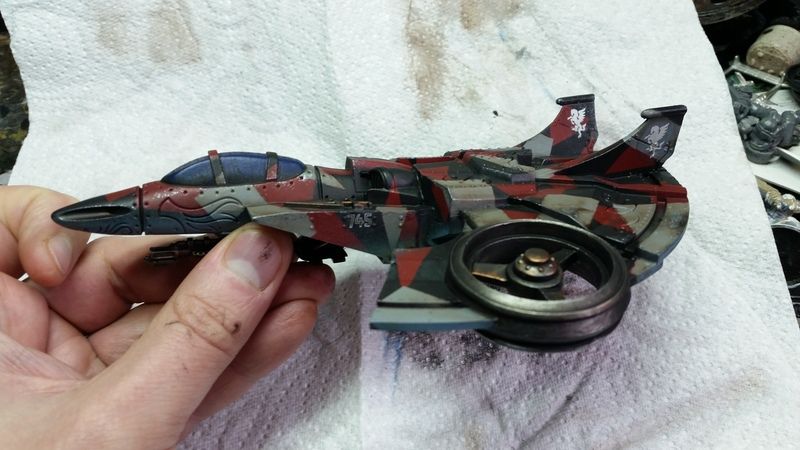
A quick blast of soft tone and some decals added give it that finishing touch,
Overall I'm really happy with the finish on this model and the colours tie in with the rest of the army nicely, All I've got to do now is wait for the rules for tank war type battles and hopefully I can field these bad boys in squadrons of three!
Subscribe to:
Posts (Atom)


